How to convert an image to 300 DPI for printing (using Microsoft Paint)
Being furloughed and locked-down owing to the pandemic has given me the time to get stuck into a project I have been toying with for a few months. Yes, I do feel guilty that I am slightly enjoying this very difficult situation yet I am trying to make the best of it because this is where we are now. I don’t want to jinx my project by saying too much about it here – but if it does come to fruition it will require me to convert images to 300 dpi to allow better quality printing. Before getting on with this tutorial, I will also add that the printed images I would be required to convert to 300 dpi are relatively small, and when I experimented on my cheap little home printer by printing a 72 dpi image alongside the same image converted to 300 dpi I could not see any difference, so if I end up self-publishing my images I will leave them at 72 dpi to save ink. It’s just that some publishing firms stipulate a 300 dpi image.
Here goes …
First you need a 300 dpi image of any shape or size. Feel free to download this one:
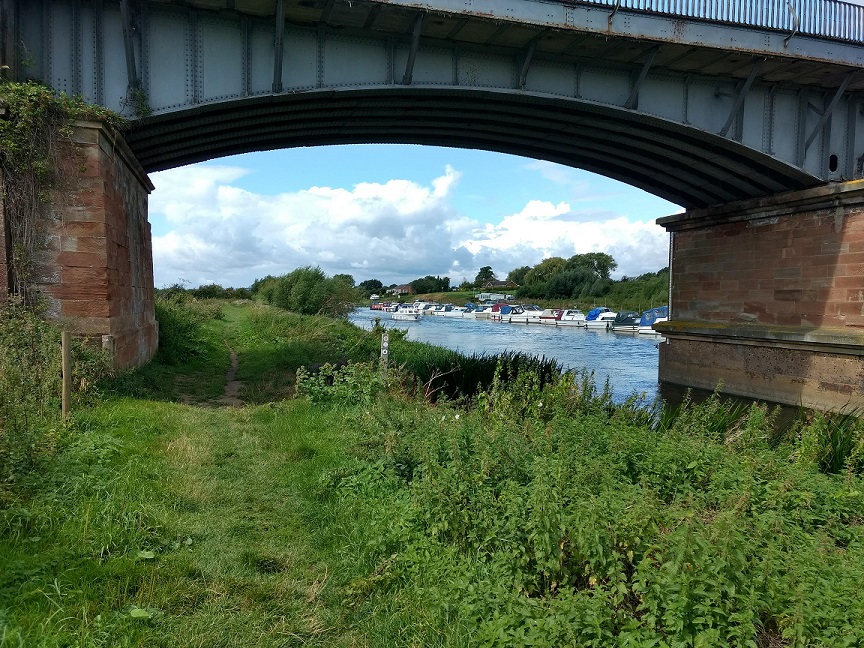
I am going to convert a Poppy picture to 300 dpi by pasting it over the Riverside photo but first I need to change the dimensions of the Riverside photo to be the same as the Poppy.

To get the dimensions of the Poppy image right-click and select Properties/Details:

Make a note of the dimensions (360 pixels x 640 pixels). This is the size I must make the 300 dpi Riverside image in order to use it as a template.
To resize the Riverside image, open it in Paint, select Resize, check the Pixels radio button and over-type the dimensions with those of the Poppy. Be sure to uncheck the box ‘Maintain aspect ratio’, which is checked by default.

Save the picture with its new dimensions. It should be distorted and the same size as the Poppy.
The last step is to copy the Poppy image and paste it over the Riverside image.
Open both pictures in Paint, in two separate windows:
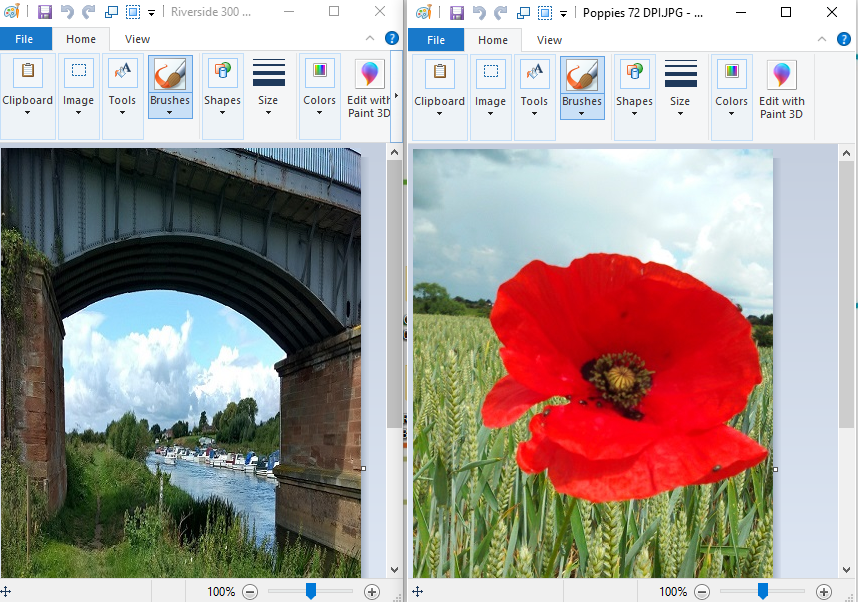
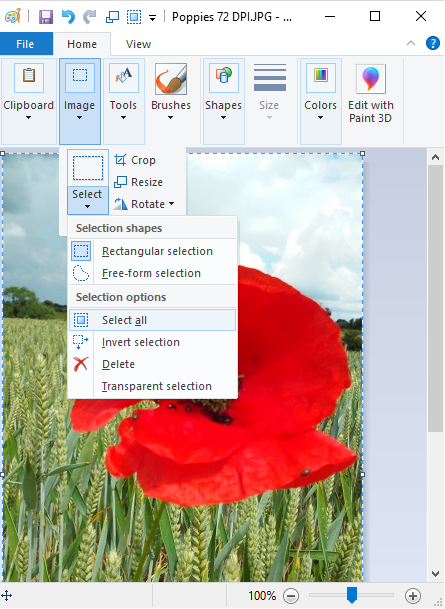
Copy the Poppy – Image, Select, Select all
Click the Clipboard tab – select Copy

Move over to the Riverside photo. Click the Clipboard tab – select Paste
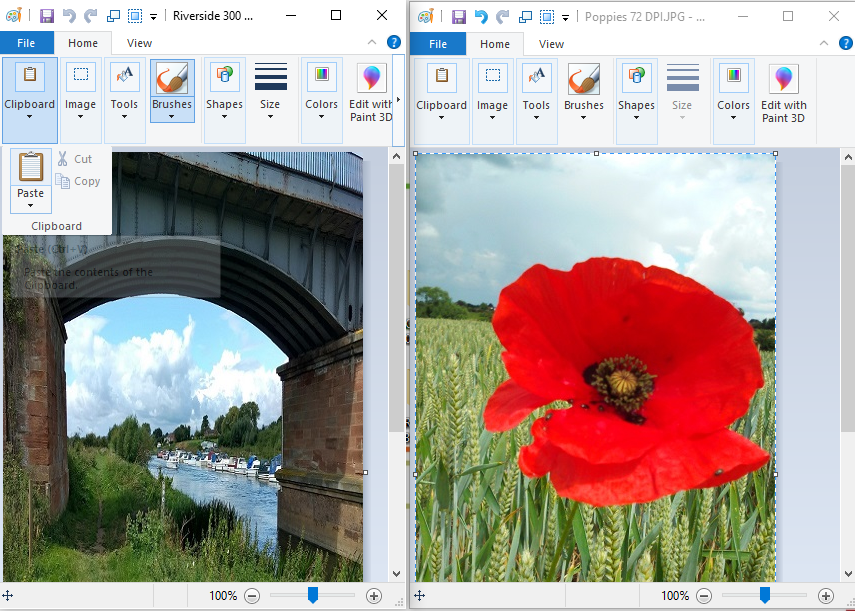
After paste …

The Riverside image becomes the Poppy at 300 dpi. Save it now and remember to rename it.
Of course if you have several images to convert to 300 dpi that are all the same size there is no need to repeat the re-sizing process. Just keep a copy of the first converted image and use it as a template to paste over.
Hope this helps!

